


Winter Is Coming. Don't Be the Driver That Isn't.
Look, I get it. Paying a shop to swap your tires feels like the easier, smarter move. You drop it off, drink their mediocre coffee, and get billed for an hour of labor. It's a tax on convenience. But here's the thing. Changing your own tires is easier than you think. Actually, it's weirdly satisfying. It saves you a decent chunk of cash every spring and fall. More importantly, you know it's done right. This isn't just about saving money—it's about not becoming a slide-show statistic on the first icy morning.
Your Gear (It's Not What You Think)
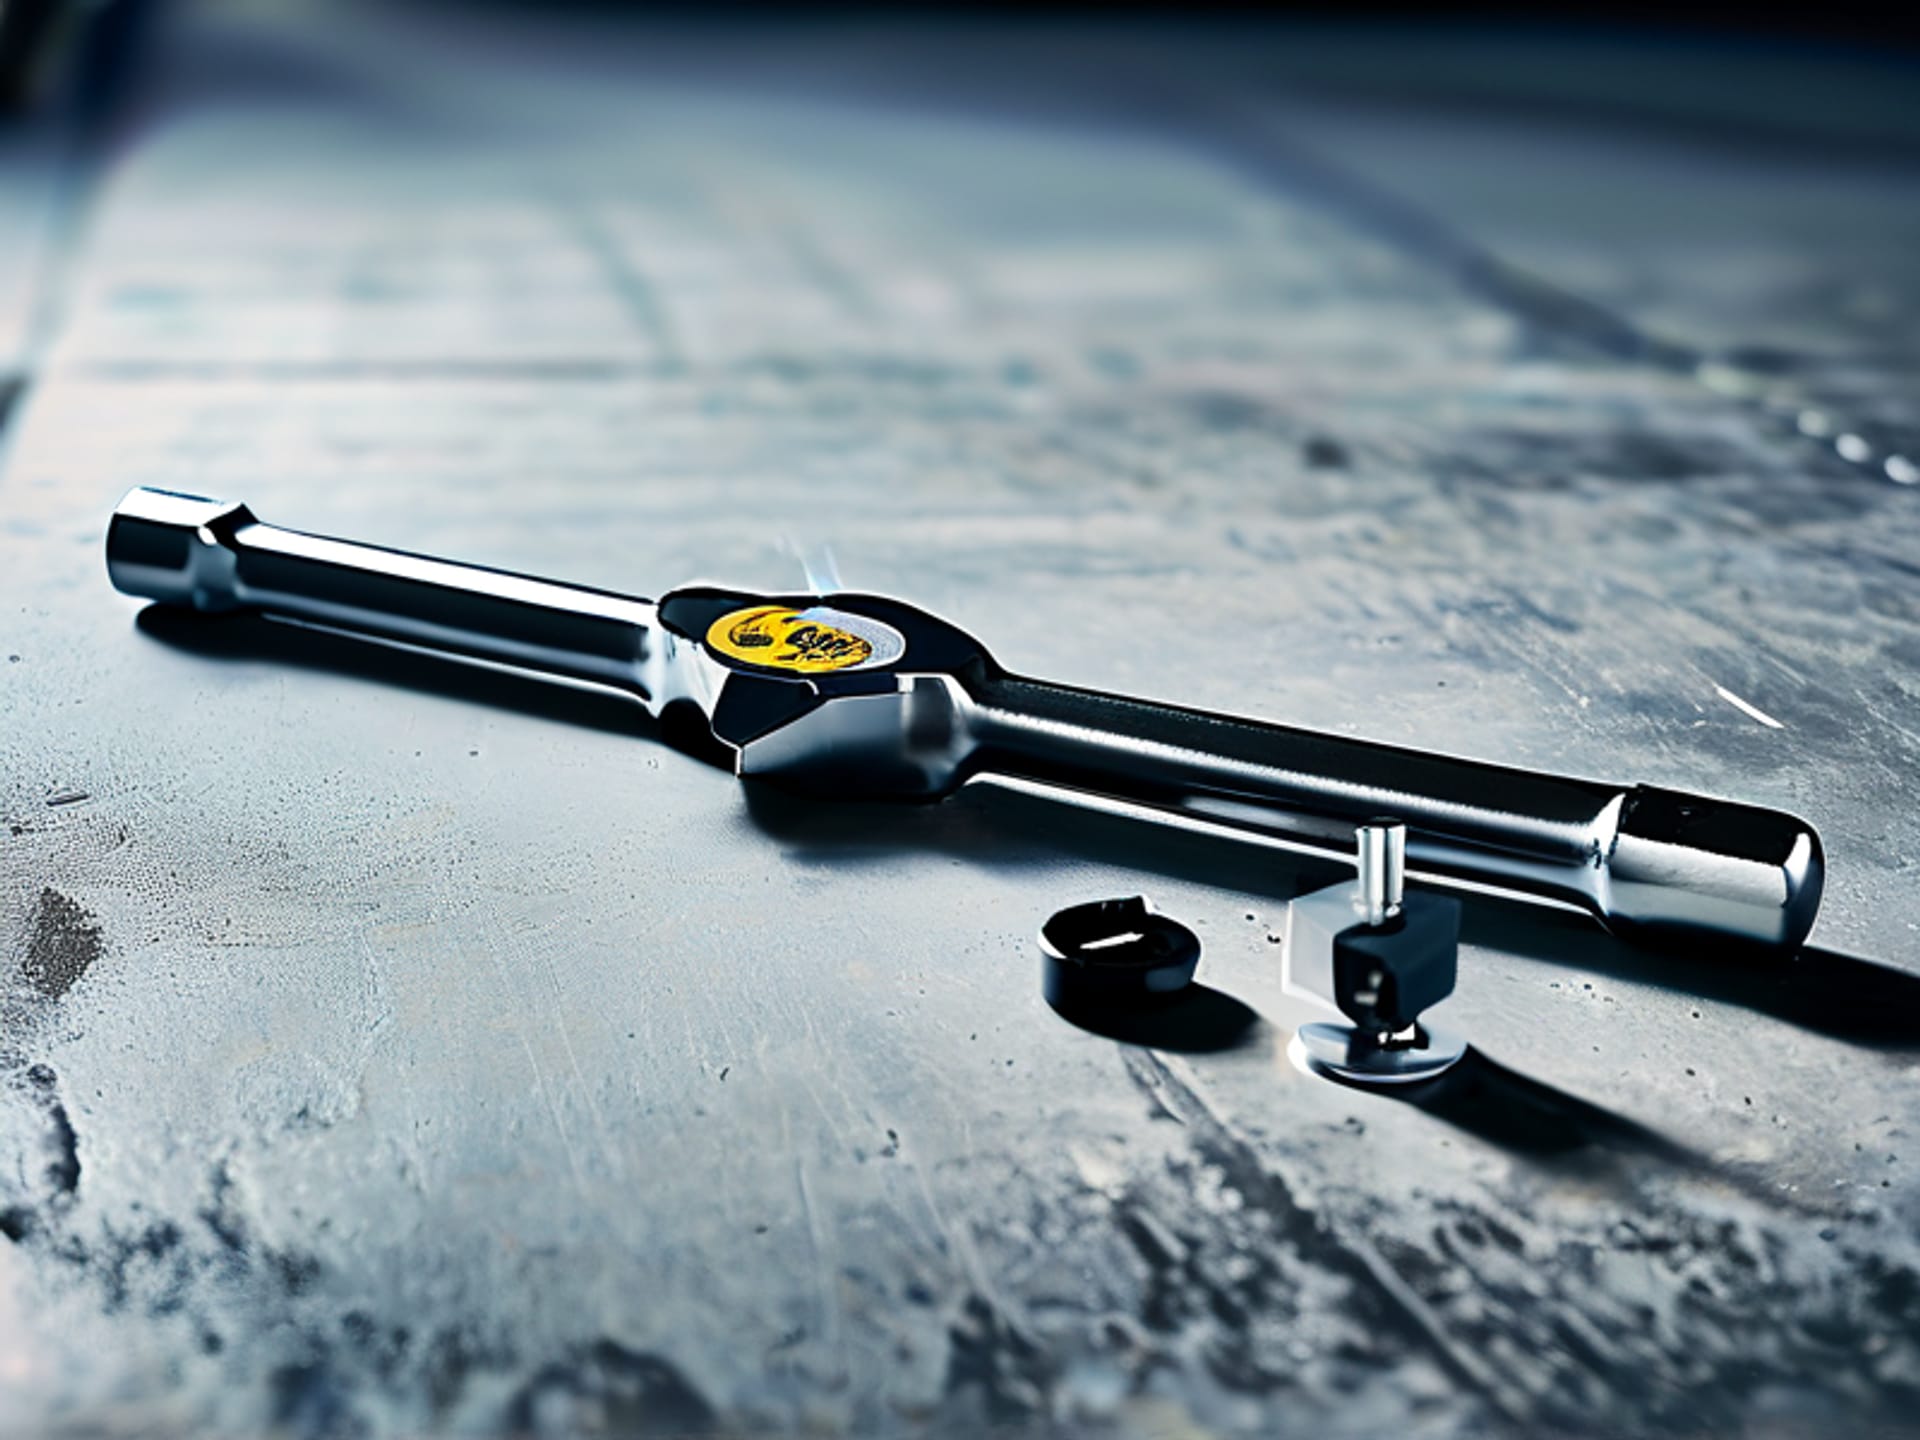
Forget the socket wrench from the trunk. Pros don't use them. You need a solid floor jack (so much safer than a scissor jack). A good set of jack stands —they're what actually keeps you from getting crushed. A quality torque wrench —this is non-negotiable for proper lug nut tightness. A sturdy 4-way lug wrench for breaking the nuts loose. A deep socket that fits your lugs. And a wheel chock . That's the safety lineup. It's a one-time investment that pays for itself in two tire swaps.
Safety First, Because You're Replaceable. The Tires Aren't.
Okay, lecture time. People get hurt doing this by skipping steps. This is the only section I'll be your mom about.
1. Jack Position: Find the metal reinforced lift point on your car's frame. Don't jack on plastic, or the oil pan. Your car manual has a picture. Look at it. 2. Jack Stands: The jack is for LIFTING. The jack stands are for HOLDING. Never put a single body part under a car held only by a jack. That's how you die. 3. The Twist: Break the lug nuts loose a quarter-turn with your wrench BEFORE you lift the car. Do it while the tire is firmly on the ground. 4. Chock the Opposite Tire: Wedge that wheel chock behind a tire on the opposite axle. Basic physics, people.
Getting the Old Ones Off (It's Physics, Not Magic)
Right. You're in the garage, you've done your safety checks. Let's do this.
Loosen the lug nuts (just break 'em, don't unscrew them all the way). Position your floor jack under the lift point. Pump it up until the tire is just off the ground. Slide your jack stand under a solid piece of the frame nearby and lower the car onto it. Now take the lugs all the way off. Pull the tire straight toward you. It might stick. A good whack on the back of the tire with the sole of your boot usually pops it free. Just like that. Off it comes. That weird-looking hunk of metal is called a hub. Try not to touch the brake rotor.
Putting the New Ones On (This Is Where You Triumph)
You're over the hump.
Line up the holes in the winter wheel with the studs on the hub. Heft it on. It should slide right on with a little wiggling. No forcing. Screw the lug nuts on by hand until they're finger-tight. This ensures the wheel is sitting flush. CRITICAL PART: Gently jack the car up just enough to take the weight off the jack stand. Remove the jack stand. Now lower the car all the way down so the tire is firmly on the ground.
The Final, Crucial Step: Torque It Down
This is where knuckle-draggers mess up. Hand-tight is a lie. Using your full weight on a cheater bar is also a lie. You get the precise tightness from your new best friend: the torque wrench.
Set it to the spec in your car's manual. Usually 80-100 ft-lbs for most cars. Click-click-click around the wheel in a star pattern. This pulls the wheel on evenly. One more full star-pattern pass to be sure. Now check the tire pressure. Winter air contracts. Inflate them to the car-door-jamb sticker's recommended PSI for cold tires. You're done.
Go Forth. And Don't Get Stuck.
That's it. You did it. No waiting, no appointment, no extra charges for "wheel weights" you didn't need. You've just demystified a basic life skill and saved yourself probably a hundred bucks. Feels better than the shop's coffee, right? Now the next time the forecast calls for snow, you can just smile. You were ready a month ago. Enjoy the traction.